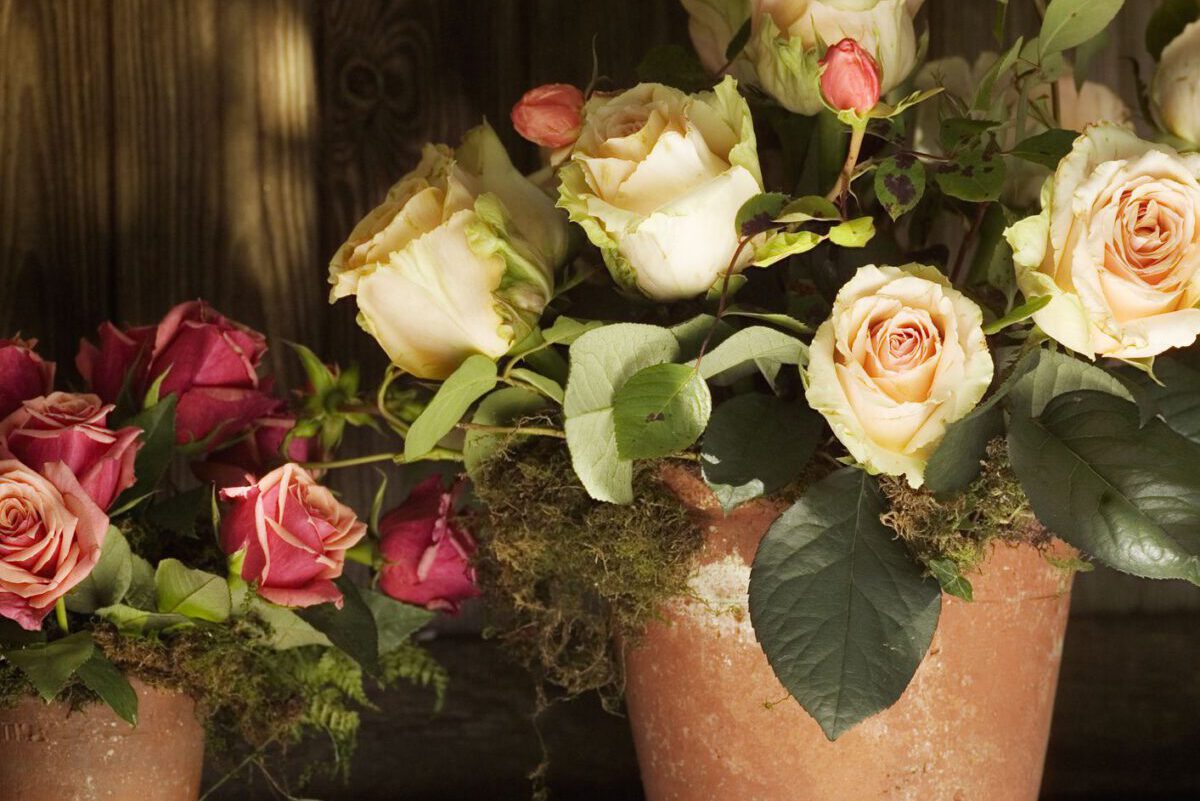
When planning to plant some potted shrub roses into your garden, we have prepared a few guidelines you can follow:
You hold a highly adaptable plant in your hands, but you must note these pointers. To begin, ensure adequate sunlight exposure and that your rose is exposed for at least four hours a day. By and large, this is a sun-loving plant. However, if you live in a tropical climate, any afternoon shade can be beneficial.
Lastly, since this is a potted plant, make sure that your pot is large enough to accommodate the size of your plant.
The Right Time to Plant
All year round, potted rose plants can be planted and grown. The only time we consider not planting is when the field is frozen, waterlogged, or experiencing drought.
What you will need:
- Gardening fork
- Garden Spade
- Mycorrhizal Fungi
- Compost or Well-rotted Manure
- Watering Can
The Right Way to do it
Step 1: Hydrate your Shrub Rose
Fill a bucket with water and use it to rehydrate your plant. The best time to do it is a minimum of 2 hours before you start planting.
Step 2: Soil Preparation
Although roses generally grow in almost all soil types, you need to make sure that you prepare its growing area. Use your garden fork or spade to get some soil from the ground. The ideal hole should be around 40cm x 40cm, so make sure that your pot is relatively similar to this required area.
Make sure to remove any stones, pebbles, weeds, or obstructive matter that can affect the growth of new roots from your potting soil. It has to be a new environment for your shrub rose.
Step 3: Mix in the Fertilizer
Then, you should start mixing a spadeful of manure into the soil. Also, make sure that you break the soil at the base for the area to be well-fertilized.
Another thing you should add into the mix is some Mycorrhizal Fungi. However, this should not be mixed in with the soil. After removing your plant from the bucket of water, hold the rose over the hole, and start sprinkling the fungi over the roots. You can sprinkle some fungi at the base of your pot with some soil as well.
Step 4: Placement of the Rose
Once you are done sprinkling the fungi, position your rose plant at the pot’s center. Make sure that once you place the plant, it will not rub against the walls of the pot or the soil repetitively as this may damage the growth. If you are not sure if the plant can stand on its own, use a bamboo cane or a stick to hold the plant in the meantime.
Step 5: Backfilling
Now that you’ve placed your rose shrub, put back the soil fill into the hole and around the roots. Firm in the soil, but make sure that you’re not applying too much pressure on the roots. Once you placed all the soil back, gently press on the soil with your hands. After a few hours, you can then water your rose plant.

