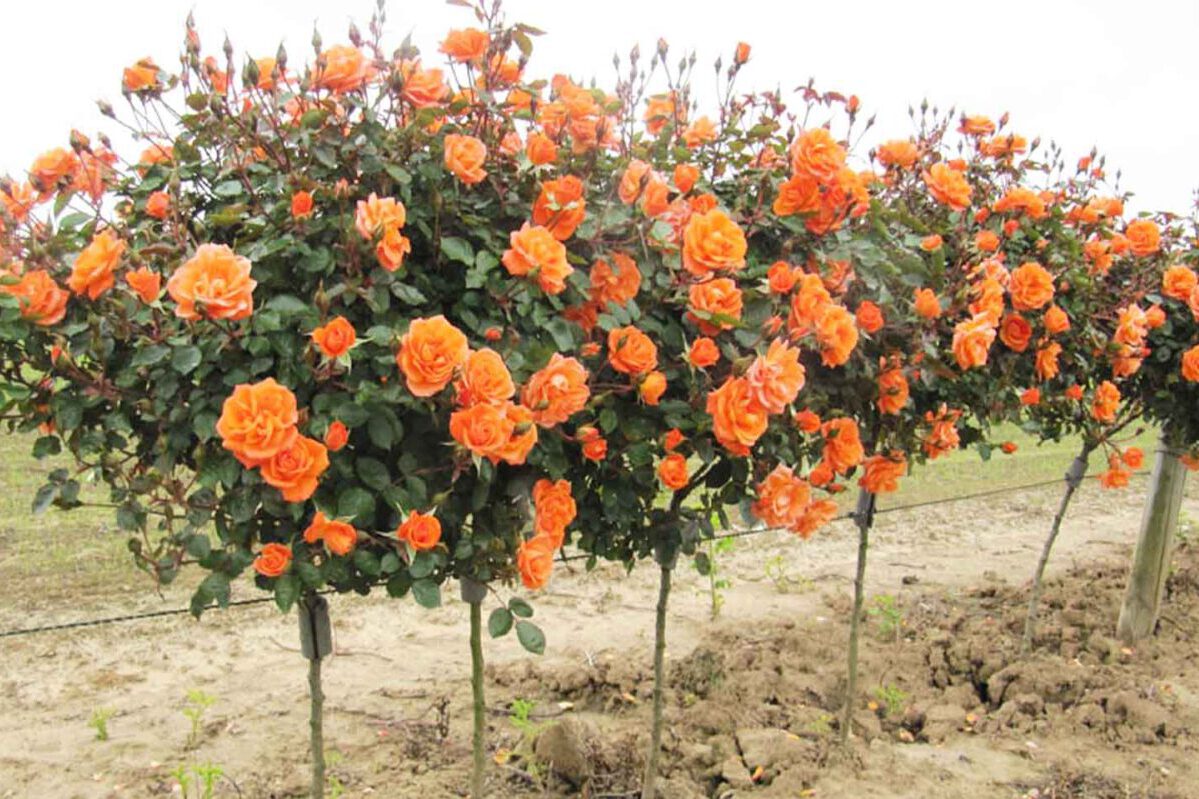
If you’re considering adding some potted standard roses to your garden, the following guidelines can help:
You have in your hands a highly adaptable herb, but you must take care of these pointers. To continue, ensure that your rose receives enough sunlight and is exposed for a few hours per day. Generally speaking, this is a sun-loving flower. If you live in a tropical climate, though, every afternoon shade can be advantageous.
Finally, since this is a potted plant, ensure that the container is wide enough to handle the plant’s height.
The Right Time to Plant
Potted standard rose plants can be cultivated and cultivated at any time during the year. However, it bears noting that we do not recommend you cultivate a field for planting when it is snowed, soggy, or dried up. That said, the most ideal months to plant your standard roses are during the spring and summer months. It is also best that you make sure that you have all the items you need for planting.
What you will need:
- Gardening fork
- Garden Spade
- Hammer or Mallet
- Mycorrhizal Fungi
- Compost scoop
- Compost or Well-rotted Manure
- Watering Can
- Tree Tie
- Wooden Stake
The Right Way to do it
Step 1: Hydrate your Shrub Rose
Rehydrate the plant by filling a bucket of water. It is best to do so at least two hours before you begin planting.
Step 2: Soil Preparation
While roses thrive in almost any soil type, you must plan the area in which they will flourish. Take any dirt from the ground using your garden fork or spade. The optimal hole should be approximately 40cm x 40cm, so ensure that your pot is approximately this size.
Remove any stones, pebbles, weeds, or other obstructive matter from your potting soil that can interfere with the development of new roots. It must be a very different setting for your shrub rose.
Step 3: Mix in the Fertilizer
Then begin mixing a spadeful of manure into the dirt. Additionally, split the soil at the base to ensure adequate fertilization of the field.
Additionally, you should incorporate any Mycorrhizal Fungi into the mix. This should not, though, be simply blended into the dirt. After extracting the plant from the water bucket, place the rose over the hole and begin scattering the fungus over the roots. Additionally, you should sprinkle some mushrooms at the base of your pot together with some dirt.
Step 4: Placement of the Rose
Once you’ve finished sprinkling the fungus, concentrate your rose plant in the pot. Assemble the plant in such a way that it does not repeatedly brush against the pot’s walls or the soil, as this can cause harm to the growth. If you are unsure whether the plant will stand on its own, temporarily support it with a cane or a stick.
Step 5: Backfilling
If the standard rose plant is in place, replace the dirt fill into the pot and around the roots. Firm in the dirt, however, avoid putting excessive pressure on the roots. Once all of the soil has been replaced, softly press the dirt with your palms. You should then spray some water into your rose plant after a few hours.