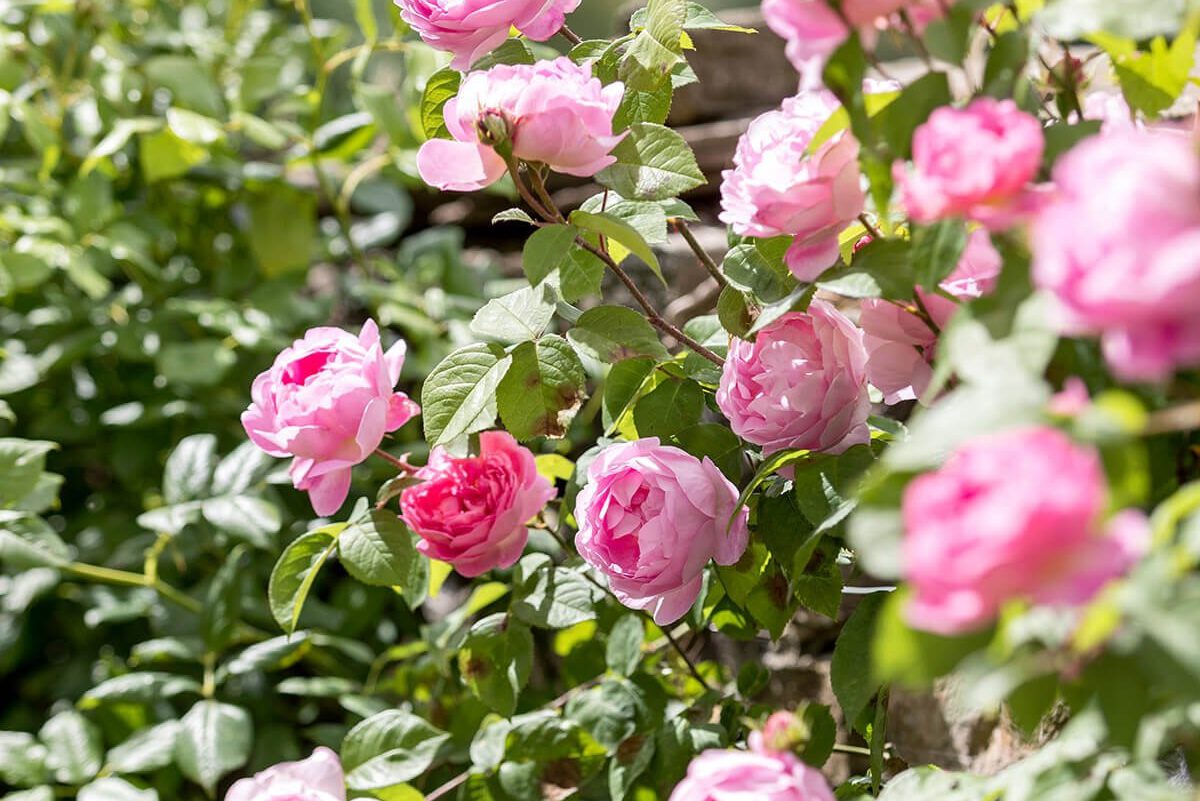
When planning to plant some bare-root climbing roses into your garden, we have prepared a few guidelines you can follow:
You have a versatile plant in your hands, but you still need to remember this pointer. Firstly, ensure sunlight exposure, and that your rose has to be exposed at least 4 hours per day. Generally, this is a plant that needs a lot of suns. However, if you are situated in tropical areas, some afternoon shade can be helpful.
Moreover, make sure that your rose plant has enough horizontal space to grow, and vertical space to climb. It must also take enough space on the ground so that the roots will not compete with other nearby plants, hedges, or trees. Providing a structure like a small trellis or pergola can be helpful for your climber as well.
The Right Time to Plant
Bare root roses tend to remain dormant, so the ideal time to plant these climbing plants is between November and April. Then again, anytime is a good time to grow your roses for as long as the earth is not waterlogged or frozen.
What you will need:
- Gardening fork
- Garden Spade
- Mycorrhiza Fungi
- Compost or Well-rotted Manure
- Watering Can
- Bucket of Water
The Right Way to do it
Step 1: Hydrate your Roses
Rehydrate the plant by filling a bucket of water. Put just enough water in the bucket to soak the roots of your rose plant. It is best to do so at least two hours before you begin planting.
Step 2: Soil Preparation
While roses thrive in almost any soil type, you must plan the area in which they will flourish. Strike a crater in the dirt with your garden fork or spade. The average hole size should be about 40cm x 40cm, but you can make it slightly larger if you’re working with a larger plant.
Remove any blocks, pebbles, weeds, or other obstructions that can obstruct the growth of new roots. It must be a very different setting for your shrub rose.
Utilize the garden fork to deeply dig over the soil to clear any weeds or big stones. This will allow the new roots to openly explore their new world. Roses thrive in a wide variety of soil types.
Step 3: Mix in the Fertilizer
Then begin mixing a spadesful of manure into the dirt. Additionally, split the soil at the base to ensure adequate fertilization of the field.
Additionally, you should incorporate any Mycorrhiza Fungi into the mix. This should not, though, be simply blended into the dirt. After extracting the plant from the water bucket, place the rose over the hole and begin scattering the fungus over the roots. Carry this out over the plant pit, allowing any waste to slip through the hole.
Step 4: Placement of the Rose
Once you’ve finished sprinkling the mushrooms, concentrate your rose plant in the hole. Assemble the plant in such a way that it does not repeatedly brush against the walls of the hole or the dirt, as this can harm the growth. If you are unsure whether the plant will stand on its own, temporarily support it with a bamboo cane or a stick.
Step 5: Backfilling
If the rose shrub is in place, replace the soil fill into the hole and around the roots. Firm in the dirt, however, avoid putting excessive pressure on the roots. Once all of the soil has been replaced, carefully walk on the soil around the rose plant. Following that, you should water the farm.

