Learn where to plant your bare root shrub rose.
Determine the location of your rose. We recommend that you follow the following guidelines: Moreover, assure that the rose receives some sunshine, preferably at least four hours a day.
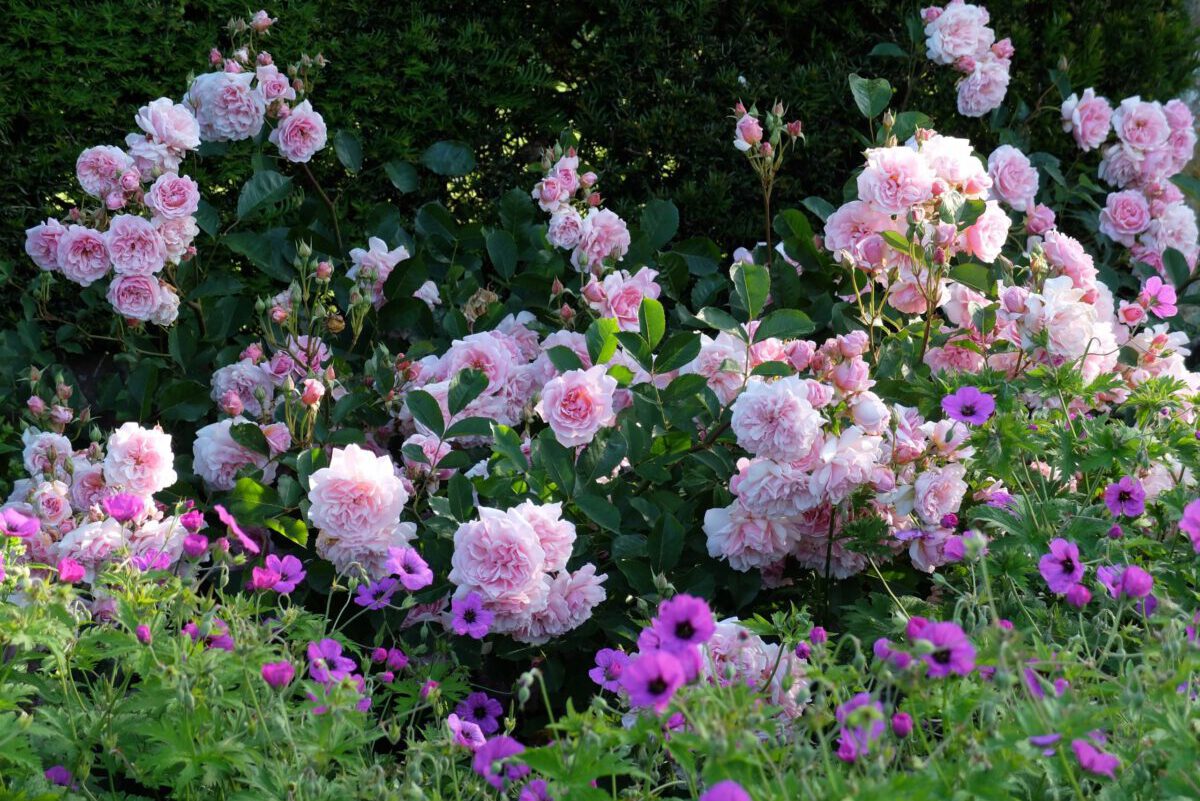
In general, the more sun exposure, the healthier. However, shading from direct afternoon sunlight can be helpful if you live in hotter regions. That said, make sure that the rose has adequate growing space. This way, its roots are not subjected to heavy competition from nearby plants, such as trees and hedges.
Roses are very adaptable plants that can be grown in a variety of locations. Now let’s go over the ideal time to start planting your bare root shrub roses.
The Right Time to Plant
The best time to plant bare-root roses is between November and April. This is generally considered the bare root season. This allows them to develop themselves in preparation to bloom in the summer. The only time we consider not planting is when the field is frozen, waterlogged, or experiencing drought.
What you will need:
- Gardening fork
- Garden Spade
- Mycorrhiza Fungi
- Compost scoop
- Compost or Well-rotted Manure
- Watering Can
- Bucket of Water
The Right Way to do it
Step 1: Water your Roses
Fill a bucket with water and use it to rehydrate your plant. The best time to do it is a minimum of 2 hours before you start planting.
Step 2: Soil Preparation
Although roses generally grow in almost all soil types, you need to make sure that you prepare its growing area. Use your garden fork or spade to dig a hole in the soil. The ideal hole should be around 40cm x 40cm, or you can make it a bit larger if you have a bigger plant at hand.
Make sure to remove any stones, pebbles, weeds, or obstructive matter that can affect the growth of new roots. It has to be a new environment for your shrub rose.
Dig over the soil thoroughly, using the garden fork, and remove any weeds or large stones. This will ensure that the new roots can venture freely into their new environment. Roses will grow in all soil types.
Step 3: Mix in the Fertilizer
Then, you should start mixing a spadesful of manure into the soil. Also, make sure that you break the soil at the base for the area to be well-fertilized.
Another thing you should add into the mix is some Mycorrhiza Fungi. However, this should not be mixed in with the soil. After removing your plant from the bucket of water, hold the rose over the hole, and start sprinkling the fungi over the roots. This can help facilitate the growth of your rose.
Step 4: Placement of the Rose
Once you are done sprinkling the fungi, position your rose plant at the hole’s center. Make sure that once you place the plant, it will not rub against the walls of the hole or the soil repetitively as this may damage the growth. If you are not sure if the plant can stand on its own, use a bamboo cane or a stick to hold the plant in the meantime.
Step 5: Backfilling
Now that you’ve placed your rose shrub, put back the soil fill into the hole and around the roots. Firm in the soil, but make sure that you’re not applying too much pressure on the roots. Once you placed all the soil back, gently step on the soil around the rose plant. You can then water the plant afterward.